In this article:
The Lumi ViewPoint Register allows you to create a list of meeting attendees, whose responses can then be tracked by the participant’s name. Not only does this mean that individuals’ responses can be identified in reporting, but names can also be used in conjunction with certain Lumi ViewPoint features (for example, a training presentation with scored, quiz-style questions, displaying an overall ‘leaderboard’ of participant scores).
Storing Data
All attendee records (and voting results and scores) are stored within the actual Lumi ViewPoint presentation (the PowerPoint file) but also stored in a SQL database, referred to in ViewPoint as 'Meetings'.
The Lumi 'Register' will be empty of information when a new meeting is created, however, with a few simple steps it is possible to transfer attendee records between meetings using the import and export features within the 'Register' file menu.
However, when saving a presentation, the register information is saved with it. This is an extra backup and allows for reporting from a presentation from a different computer without needing to export/import the register information.
Lumi Register is bundled in with Lumi ViewPoint and Text Vote Talk and enables you to register smartcards or handset numbers to delegates. When you make a change in Lumi Register it will carry through to any connected software that is using the same meeting.
Note:
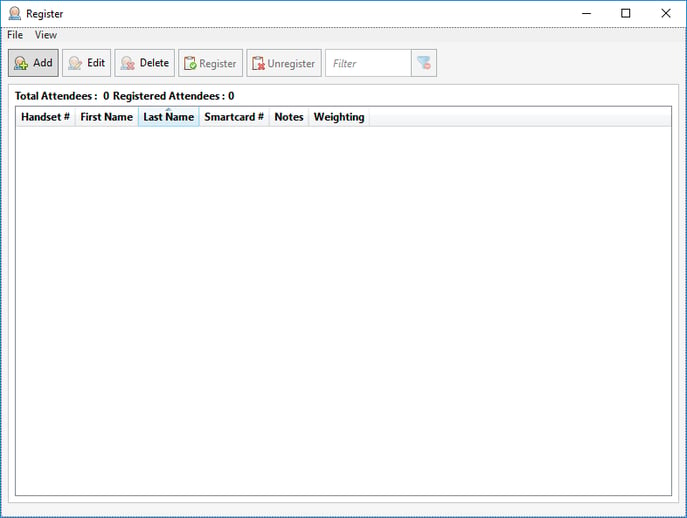
You can add delegates by bulk or individually into the register. To add individual delegates use the buttons in the Lumi Register Ribbon.
Attendee Records
An attendee record contains a person's name and the identity of the handset or smartcard that they have been assigned to use.
All attendee records are stored within the database and managed through the 'Register'. However, when votes are included on the slide, the attendee records are also stored on the slides. This provides a backup of register data, as well as make it easy to transfer with the PowerPoint file.
The order in which attendee records are displayed in the 'Register' can be changed by clicking in the column headers. For example, clicking on ‘Last Name’ will sort the attendee list alphabetically by the Last Name field.
Clicking again on a column header will reverse the order in which the list is sorted.
Note: If attendees are identified by Handset #, the order in which the attendee list is displayed will affect the sequential indexing when registering handset numbers to selected attendees (numbering starts at the top of the attendee list).
| Button | Description |
|
|
The 'Add' button will create a new Register entry. The Handset # field will be automatically populated sequentially. Note: A maximum of 30 characters can be used for First or Last names. Remove this if using smartcard |
|
|
The 'Edit' button is only available when a single record is selected within the attendee list. Primarily, it allows you to make corrections to an existing person's name. Secondly, it is also possible to register an attendee to a different handset #. Double-click on a single attendee in the ‘Register' to access the 'Edit' popup. |
|
|
Removes the selected attendee records from the 'Register'. Deleting an attendee from the 'Register' means all subsequent votes from that individual’s registered handset will not be recorded against their name. However, deleting an attendee does not clear their responses and scores from questions that they have already voted upon. Therefore, deleted attendees will appear within meeting reports and scoreboards until all questions that they have voted upon are cleared of results. All records of the identified votes will, however, remain saved in the database. |
|
|
Registers a Handset # or smartcard # to identify an attendee. Registering a ‘Handset #’ Pressing the ‘Register’ button and selecting ‘Handset Index’ will automatically issue sequential index numbers for selected attendees. A warning message will remind the user that any existing information in the Handset # field will be overwritten in the registration process. Registering a 'Smartcard #' Pressing the Smartcard button will automatically bring up a blue screen with 'Insert Samrtcard to register Delegate Name'. Inserting a smartcard will register the information to the card and then display the successful transaction on the screen. |
|
|
Automatically revokes handset index numbers (handset #) or smartcard number for selected attendees. Pressing the ‘Unregister’ button and selecting ‘Handset Index’ or 'Smartcard' will prompt the user, before unregistering the handsets for selected attendees. |


Note:
Lumi Register is bundled in with Lumi ViewPoint and Lumi Text-Vote-Talk. It is also available as a standalone installer for regsitration machines.
Lumi employees can download it from SharePoint
Lumi's partners can download it from the Client Portal

Reviewed and Approved by Product Team